Showing posts with label Wonderfil Invisafil. Show all posts

Monday, October 12, 2015

Grandmother's Cabin

I finally finished my quilt last week, Grandmother's Cabin, and thought I would share some photos with you, since I know I am long overdue for an update.  Some of these pictures are before I put the binding on, some are with a different camera so colors may vary, but you get the idea. 
I had hoped I'd finish it long before now, but a few of life's interruptions during the month of September pushed my finish date up a bit further than I originally planned.  However, I was still able to meet a deadline I had set for entering it into several shows coming up, so on that note, I am quite pleased it is done and ready to send off into the quilt show world.
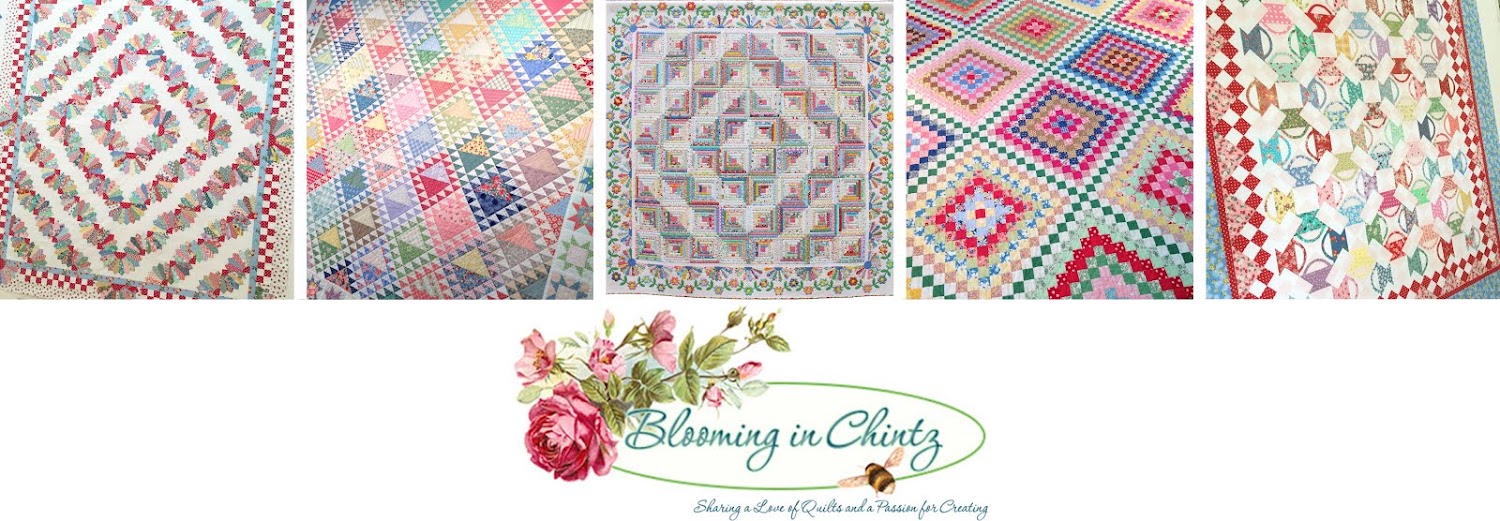
"Grandmother's Cabin"
I made the top back in 2012 and it has been sitting in a closet waiting to be quilted up until a couple of months ago.  I knew I wanted a lot of quilting on it, but really wasn't certain as to how elaborate I wanted it to be.
The log cabin blocks were foundation-pieced on paper.  The hexagon flowers were made using the English paper-piecing method.  The Dresden plates and the hexagon flower vine are all hand-appliqued.  This is only the second quilt I have ever hand-appliqued.
Since the quilt is so busy visually with so many pieces and such a wide variety of different fabrics, I decided to keep the quilting clean and simple with lots of grid quilting and straight lines.  Although though there is still a ton of quilting, it tends to play a more supportive "background" role instead of obliterating the details of the quilt itself.   This is also the first time I have used a wool batting, which is Hobb's Tuscany Wool.  The top thread is Wonderfil Invisafil 100 weight and the bobbin thread is Wonderfil DecoBob 80 weight.  The quilt finishes at 91 inches square, the log cabin blocks are 9 inches and the border is approximately 9 1/2 inches wide.
 
I did mark every single line with a fine-tipped water-soluble blue pen.  The grid lines are a half-inch apart and all of the lines were quilted with free-motion quilting.  The only thing I used the walking foot on is the narrow cable in the border.  The log cabin blocks are free-motion quilted in the ditch, spiraling out from the center by quilting in the seam line of each strip.

My inspiration for this quilt came from my infatuation with traditional quilts from the 1930s.  After I finished the log cabin blocks and was deciding on a border, I got the idea to combine a couple of classic quilt motifs that are easily recognizable into a single quilt to pay tribute to the 30s era as well as to our grandmothers that made them.  Since I also love scrap quilts as well as collecting fabrics that are reminiscent of the Depression Era, I challenged myself to use as many fabrics in the quilt as possible.  I kept the overall values on the lighter side in order to evoke a sense of the pastel, candy colors associated with that time period.  This is an original design and there is no pattern available.

And finally I would like to send out a big thank you to all of you who have been e-mailing me as to my whereabouts, your various questions, and the lovely comments I receive on my tutorials.  I am so flattered and appreciative of all the e-mails, as well as being overwhelmed at the interest in my work.  You never really know how many people you reach when you blog, but I will say that the response from all of you is very gratifying and I wish there was a way I could meet you all in person to say thanks from the bottom of my heart!  Until next time. . . Happy Quilting!


Saturday, August 8, 2015

Instant Gratification

Well, I'm off porch cushions and back onto quilting for a bit!  I'm sure most of you are relieved!  Here are several pictures of a simple 25-patch quilt I finished up this week.  I am gearing up to machine quilt a top that will require a substantial amount of time, so I needed something to do quickly to get back in the groove. 
I had pieced the top back in April when I was on a mission to use up a bunch of leftover scraps laying around from another quilt.  I am considering this to be a "fall" quilt for me since I really don't care for the color orange in our house (but yet I LOVE Halloween, go figure!) and this is probably as close as I will get to a fall-looking quilt.
Here is the top prior to quilting.  The small squares finish out at an odd size at 1 1/8".  Since I was using up leftovers, it didn't matter to me since this is an easy pattern to adjust accordingly.  Sorry if the lighting varies from photo to photo, they were all taken at different times and in different rooms.
This is after I have marked the entire top and am pin-basting the layers together.  And yes, I do mark every single line.  I want my quilting to be even and uniform and following the lines exactly is the only way I can get that look.
And here I've completed all of the quilting.  I approached this very simply, quilting vertical lines through the entire quilt at about 7/8" apart from one end to the next, all with my walking foot.  The quilt is small, at approximately 50" by 60", so the quilting process went very quickly. 
Next I quilted a grid in the opposite direction, but only in the 25-patch blocks.  I did this by free-motion quilting the lines.  I started at the far left side of each block, traveling down the first line, then over to the next line by quilting in the ditch, then back up the second line, then over to the third line by quilting in the ditch, down the third line, etc.  I could actually travel from block to block within each row with this method without having to stop and start.  (In the photo above, the free-motion lines I am referring to are horizontal in the picture.) 
I used Wonderfil Invisafil for the top thread and Mettler Metrosene in the bobbin, both of which are polyester and very, very fine at 100 weight. 

So now that I feel like I finished a project and got a sense of instant gratification, I am ready to tackle my next machine quilting project.  I have been laboring over what to do on the quilt you see below for three years now.  I am finally ready to get on with it!  I have a couple of deadlines rapidly approaching so this is as good a time as any to tackle a couple of tops that have been in "waiting" mode.  Here is a peek of what I will be working on, below.  The half-inch grid stencil is from The Stencil Company and I am using fine-tipped blue water soluble marking pens to mark the quilt.
I may disappear for a bit so I can focus on getting this quilt finished, but don't worry, once this quilt is completed, I will share plenty of pictures!  Until then. . . .enjoy the rest of your summer and Happy Quilting!


Monday, May 11, 2015

Brotherly Love

Thought I'd show you what I've been working on now that the weekend is over.  I made this quilt for my brother's birthday, which is next week, and gave it to him yesterday while we celebrated Mother's Day.  He was surprised, which is how I had hoped it would play out, since I have been really good about refraining from posting pictures anywhere he would have seen them until after the fact.
I challenged myself to use what I already had on hand, even the backing and batting, and the only thing I had to go out and purchase was thread.  Once again, it is such a great feeling to use up fabric that I've had forever!  Even the blue and white squares are actually leftover parts from a quilt I made several years ago.

I quilted it with a walking foot, doing in-the-ditch and crosshatch lines through the center part of the quilt. . .

and straight diagonal lines in the setting triangles around the outer edge.  In the outer border I did a cable, of course!  I can't resist cables when I have the opportunity to add them.

And I didn't even bother trying to figure out the spacing in order for the cable to wrap around the corner, I just let each side dead end into the seam line or off the edge of the quilt.  I think it looks fine doing it this way.  So many antique quilts were quilted just like this.

Here's a peek at the label I machine embroidered for the back of the quilt.

And for those of you that are curious, I used Quilter's Dream Request 100% cotton batting.  The threads I quilted with were Wonderfil Invisafil 100 wt. 100% polyester for the in-the-ditch quilting, Wonderfil DecoBob 80wt. 100% polyester for the straight line quilting, and Mettler Metrosene 3-ply/100wt. 100% polyester for the cable quilting and in the bobbin.  I've just started using Metrosene and so far am really happy with the way it works in my machine, a bit less finicky than Invisafil, and the final result is very similar with its matte finish and the way it sinks into the fabric.

And here is my brother, Steve, and me, with his quilt, Oswego Memory.  I am so glad I have a brother who appreciates quilts and all the other things I've made him over the years!  Happy Birthday Bro!

Happy Quilting!

Thursday, May 29, 2014

Irish Blue

I thought I would squeeze a quick post in before the month of May is over!  I've been sidetracked this month, working on some old needlework projects and framing some pieces that have been sitting around for years in the closet, so I only managed to get one quilt finished, but I thought I'd do a little show and tell anyway.
I finished quilting this quilt earlier this month and thought you all would like to see more cables done with a walking foot.  This is a triple Irish Chain quilt I did a few years back in blue and white as a class sample for a workshop I taught.  I waited to quilt it until recently, it's been one of several in a stack needing to be quilted.  This quilt was also a tester for a border cable I've been wanting to try as well as a feathered wreath in the alternating white blocks.
I know it may be somewhat difficult to see the quilting in some of these pics, once again, a photographer I am not!  But I did try shining a lamp off to the side so the quilting would show a little more.  There is also a small cable in the inner white border.  The straight lines and all the cable quilting were done with a walking foot.
Don't you love this cable?  I had seen a similar one on an antique quilt long ago and then came across a drawing of it in a very old quilt magazine.  I photocopied it, enlarging it many times, and then reworked it to figure out the repeats so that it would fit on my border.  The inner cable is from a stencil I have, perfect for a narrow space.
This was another experiment, trying free-motioned feather wreaths.  I will admit, I am not a big free-motion quilter, although I have done some.  I love the look, but don't really enjoy doing it, mainly because I wind up with such a sore neck and back, I feel like I've been in a car accident!  And I do try very hard not to tense up, but it still requires a great amount of physical and mental energy, no matter how much I try to relax.  But that being said, I am thrilled with the results.
Here you can see how the border wraps the corner of the quilt, a bit different than many that you see.  And if you look closely at the inner white border, I just ran it into the seamline and didn't bother wrapping the corner on that one.  So it works either way, it's really a matter of taste and how much extra work you want to put into it.

And a quick note here, this quilt is really VERY white, but once again, due to lighting and amateur photography, you are seeing a dirty beige!  I'm sorry, but I figured in this case, you really needed to see the quilting more than all that whiteness.

For those of you that are curious, the batting I used is Hobb's 80/20, whoops, my mistake, it is Mountain Mist 100% cotton.  Normally I use Hobb's 80/20, but I wanted to try this one out for a change.  And I loved it, it's very thin and drapes well, very similar to an antique quilt.  The top thread I quilt with is Wonderfil's Invisafil, my absolute favorite thread for quilting.  It is very fine, similar to silk at 100 wt., but is a very soft polyester and very strong.  It sinks into the fabric, so you see the indentation, not the thread, and it works extremely well for scrappy quilts when you have a wide array of colors and prints, blending in almost perfectly on most colors.  I have used it now exclusively for many years and absolutely love it.  And in the bobbin I used Wonderfil's Konfetti 50 wt. Egyptian cotton, a very nice, low-lint cotton thread.

And finally, I want to put out a HUGE thank you and GIANT group hug to all of you that have commented or e-mailed me on the tutorial I posted on quilting cables with a walking foot!!!  I am BLOWN AWAY at the response I received, I truly had no idea it would reach so many of you!  It makes me happier than words can say to hear from you.  And to know there are like-minded women out there that feel the same way I do about traditional style quilting is just so reassuring to know that I am not alone in how I feel!  Let me just say that when I started this blog, it was a bit nerve wracking writing to "air" and not thinking that anyone would read or care what I had to say.  So I just have to let you all know that bloggers DO want your comments, especially me!  And I hope that all of you that took the time to write received my replies because I did respond to everyone.  If you aren't getting a response from me, please let me know!  I am still trying to figure this all out and sometimes it's by the seat of my pants.

Hope you continue to be inspired!  Until next time. . . .Happy Quilting!!!